 This blog is a comparison table among new released Autel MaxiDAS DS808, MaxiSYS MS906 and MaxiSYS MS908P. Surely it can help you know these tools better!
- 4月 01 週六 201714:01
Compare Autel MaxiDAS DS808 vs MaxiSYS MS906 vs MaxiSYS MS908P
This blog is a comparison table among new released Autel MaxiDAS DS808, MaxiSYS MS906 and MaxiSYS MS908P. Surely it can help you know these tools better!- 3月 02 週四 201715:00
V4.94 Digiprog 3 Odometer Master change MB E350 W211 mileage OK
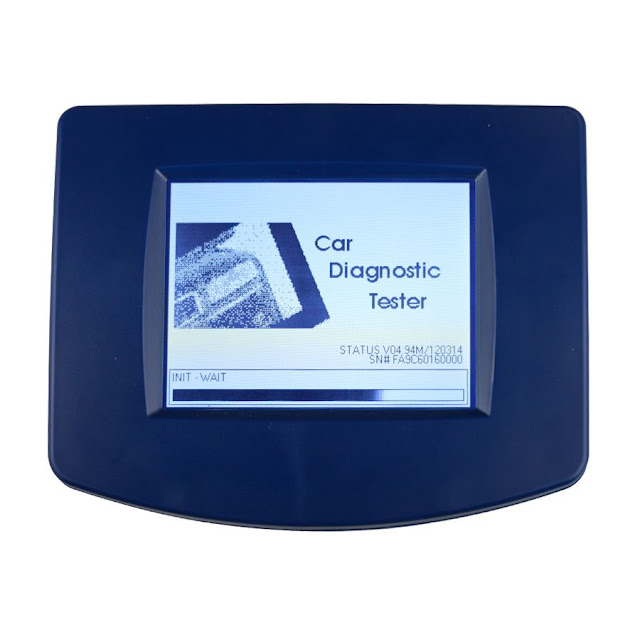
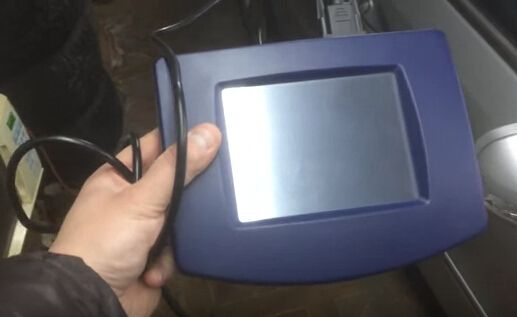 Here is a tested success case for sharing: V4.94 Digiprog 3 Odometer MasterProgrammer change Mercedes W211 E-class mileage in 5 minutes! Check below steps to know how simple it is!
Step1. Connect Digiprog iii with W211 via car OBD connector. Power up Digiprog iii and you see notice information, just say yes. Then enter password to open main menu.
- 1月 13 週五 201714:57
Digiprog 3 Mileage Correction review: Tested OK or Not OK
 This blog is OK or not OK reviews on Digiprog 3 Odometer Master Programmer. You will know what’ tested working and not working with Digiprog 3 separately.
- 1月 11 週三 201717:12
KESS V2 K-Suite 2.28 Free Download and Installation Guide
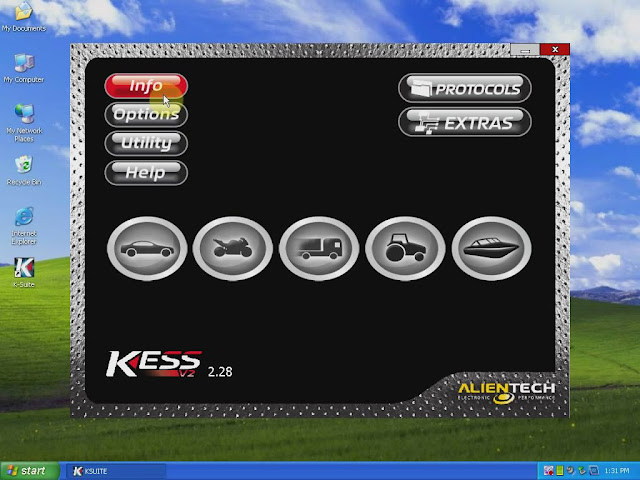 Good news for sharing! K-Suite 2.28 is now tested OK on KESS V2 Master Clone! You will get KESS V2 K-Suite 2.28 free download link and installation guide in this blog.
- 1月 11 週三 201717:12
KESS V2 K-Suite 2.28 Free Download and Installation Guide
Good news for sharing! K-Suite 2.28 is now tested OK on KESS V2 Master Clone! You will get KESS V2 K-Suite 2.28 free download link and installation guide in this blog.- 1月 06 週五 201716:51
BMW E90 oil reset using Xtuner X500 via Android 4.4
 This is the new test from the Xtuner factory. Xtuner X500 diagnostic tool has been tested without any issues, successfully reset oil
on BMW E90, running on the Android 4.4 system (Android post 4.4 all ok).
this is the xtuner x500 scanner:
- 12月 28 週三 201615:47
NEW SPEICIAL OBDSTAR F101 Toyota IMMO reset tool for G chip all key lost
 Hi there! This blog bring you good news: OBDSTAR Company has newly launched a special device called OBDSTAR F101 TOYOTA IMMO (G)Reset tool which supports Toyota G chip all keys lost! Check below details to know it!
- 12月 21 週三 201617:20
How to Choose Renault CAN CLIP Cheapest & Best-Quality
 There mainly are four kinds of Renault CAN CLiP diagnostic tool from China, designed by different factories, that come with different printed circuited boards (PCBs), some good, some with connection issues.
Note: you are advised to read “How to tell good PCBs” first:
- 12月 20 週二 201615:46
(Tested) OBDSTAR X300 DP program G chip key for Toyota RV4 all key lost
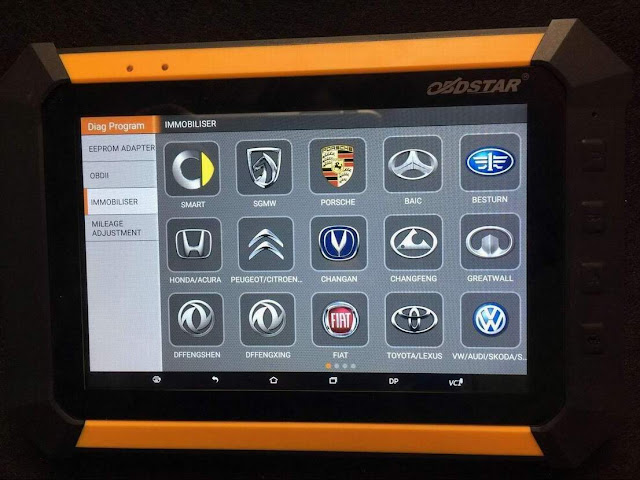 This blog will prove and demonstrate how OBDSTAR X300DP program two Toyota G chip keys for a Toyota RV4 when all keys lost. (One master key, one sub-master key)OBDSTAR X300 DP now is ready to send at eobdtool.co.uk)
Step1. A Toyota RV4 2013 with G chip lost all keys. So we are going to program two new G chip keys as below:
- 12月 09 週五 201617:36
How to build K+DCAN cable for BMW E series coding
 Basically, there aretwo methods for users to get the K+DCANusbcable, to buy a complete one or simply build one yourself. Read the following to get it.
One way is to build a cable yourself. Cost for this would probably range anywhere between 10 to 20 bucks. You will need to solder a bit but it's nothing too serious if you follow the instructions to the letter.
Its actually very simple that any average person can do that has access to a drill and a soldering gun.
Tools needed..
1. Small philip screwdriver to take the D-can cover off
2 Radio Shack micro on/off switch (can be two prongs or three) and some wire 24 guage.
3. Soldering gun
4. Some type of glue gun or glue adhesive
5. Drill bit 5/16 to make hole in the D-can cover
Locate pin 8 which will have a number on the side of the board. One side will have the digit 1 and the other digit 8
Once you locate pin 8, thats the pin we will be using as well as the next one over. Connect each pin 7 and 8 with a separate wire and then use the soldering gun and connect each wire to the micro on/off switch... If you bought a 2 prong on/off switch connect it to each side, but if you bought a switch with three prongs, connect the middle and one of the ends, doesnt matter which one. At the end there will be one prong end not used...Neatly place the wires snug so that the D-can cover can be closed without anything preventing it to make a closed seal and your done. Screw in the 4 philip head screws in their respected holes. Note which postion is on and which is off by some type of label on the outside of the cover...SImple! Note on my first pic, I have a switch with 3 prongs, but I snipped off the 3rd one just to make it easier to solder...